

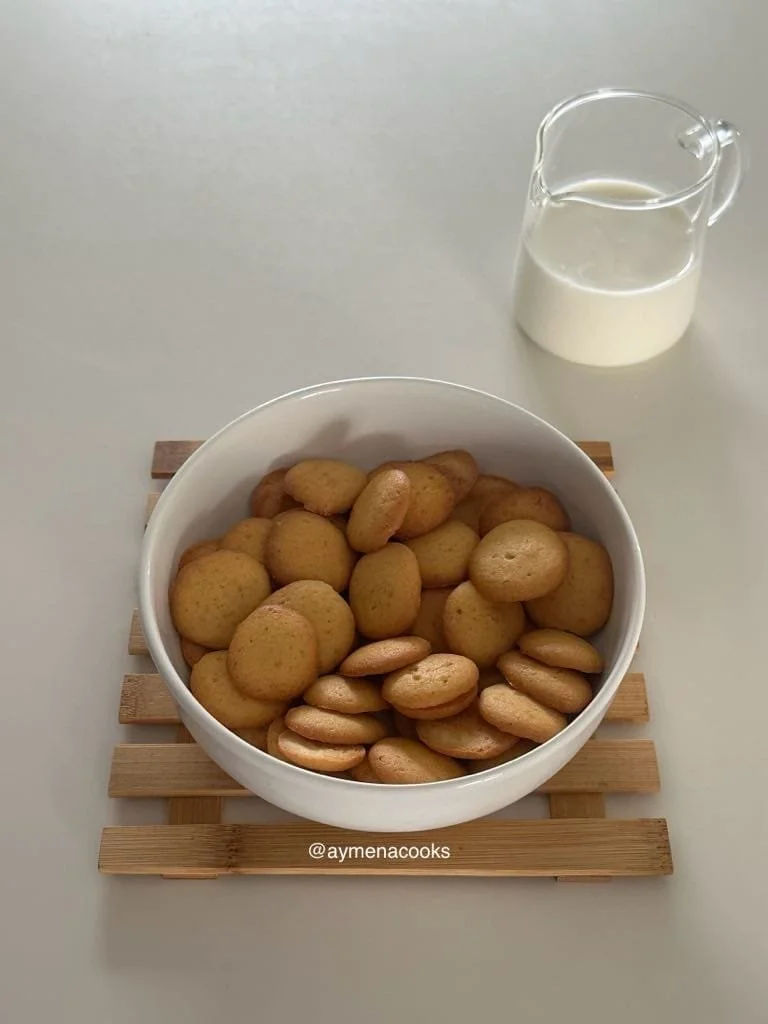
these homemade vanilla wafers are the perfect accompaniment to banana pudding, though they’re equally delicious on their own with a cup of tea. the dough pipes beautifully into perfect rounds that bake into golden, crisp cookies with delicate centres.
why you will love these easy homemade vanilla wafers
-
easy recipe- this vanilla wafers recipe is a lot easier than it looks! it uses basic ingredients and has easy steps and no fancy tools are required.
-
great to use in other desserts – if you’re looking for a recipe for vanilla wafers and banana pudding, look no further. these vanilla wafers go so well with banana pudding since they soften beautifully when layered in a banana pudding but are still crisp enough to keep their shape. although vanilla wafers and banana pudding are a classic combo, these vanilla wafers can be used in a bunch of other desserts too – for example they’re great to use crushed up as a base for cheesecakes.
-
also great as a snack – a handful of these vanilla wafer cookies are a great snack for when you need a little sweet fix.
learn how to make homemade vanilla wafers from scratch
if you want to know how to make vanilla wafers at home, the steps are detailed below.
we’re going to start off by mixing together melted butter and icing sugar or powdered sugar until combined. then, we’ll add vanilla powder and mix this in.
add a large egg and mix that in. then, in another bowl mix together flour, cornstarch and baking powder. add the dry ingredients to the butter and sugar mixture, and mix it in until you get a loose batter. transfer the batter to a piping bag and pipe the dough into small, equal-sized rounds on a lined baking sheet/tray.
bake until the cookies are golden and crisp, then remove from the oven, let them cool and we’re done!
homemade vanilla wafers ingredients
-
butter – in this homemade vanilla wafers recipe, we’re going to be using melted butter, and mixing it with the icing sugars. you can use salted or unsalted – i used salted butter, but if you’re using unsalted, be sure to add a pinch or two of salt to the dry ingredients.
-
icing sugar or powdered sugar – the icing sugar in this homemade vanilla wafer recipe helps create a more delicate texture than granulated sugar would and helps achieve that classic vanilla wafer melt-in-your-mouth quality.
-
granulated sugar – this recipe uses a mix of granulated sugar and brown sugar. the brown sugar keeps these mini chocolate chip cookies soft and the granulated sugar helps them spread and gives them a bit of crunch.
-
vanilla powder – Vanilla powder helps give these homemade vanilla wafer cookies their distinctive vanilla flavour – It provides a more intense vanilla flavour than extract alone and doesn’t add additional moisture to the dough. if, however, you don’t have this or are struggling to find it, vanilla extract will do the job just fine.
-
egg – we’re just going to use one large egg when making these vanilla wafers from scratch – make sure it’s at room temperature so that it’s able to combine easily with the rest of the ingredients.
-
flour – we’ll be using plain flour or all purpose flour when making these homemade vanilla wafers
-
cornstarch – using cornstarch in this vanilla wafers recipe helps create that classic vanilla wafer texture. cornstarch reduces the protein content in the dough, creating a more tender, melt-in-your-mouth cookie.
-
baking powder – just a touch of leavening helps give these nilla wafers a slight rise without making them too cakey. the wafers should be fairly flat but not completely dense.
tools:
-
medium mixing bowl – for the vanilla wafer dough/batter
-
small bowl – we’re going to mix all of the dry ingredients separately before adding them to the dough, so you’ll need a separate bowl for this
-
whisk or electric mixer – to ensure that you get a smooth, lump-free batter/dough. i just used a whisk but you can use an electric mixer if that’s easier for you.
-
baking sheets or baking tray – you’ll need a big baking sheet lined with parchment paper or baking paper for baking the vanilla wafers
-
piping bag – the vanilla wafer dough is quite a loose batter, and is best piped out onto the baking tray before baking, just to make things easier. if you don’t have a piping bag, you can also just use a bag with one corner snipped off. alternatively, if you’re not too worried about the vanilla wafers looking round and uniform, you can also just spoon the dough onto the tray.
step by step instructions
for full measurements, keep scrolling down to the recipe below.
step one: preheat the oven and line a baking sheet or tray with parchment paper or baking paper.
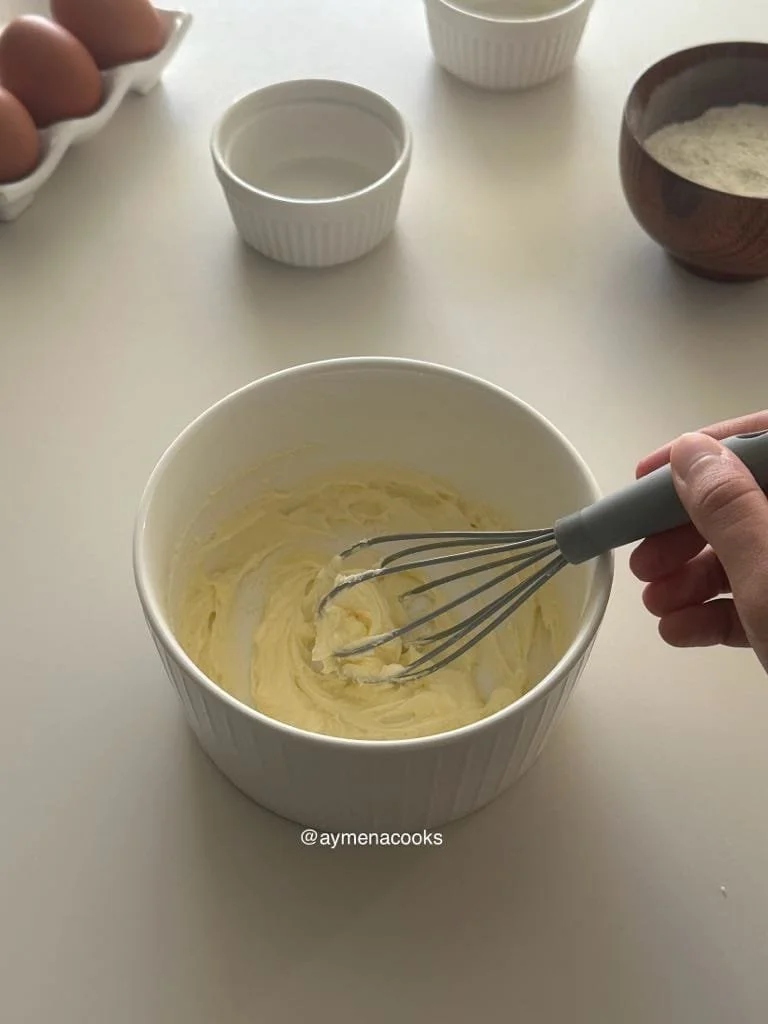
step two: in a medium bowl, add melted butter, icing sugar/powdered sugar and vanilla powder. using a whisk, mix these together until combined. the mixture should look soft and creamy.
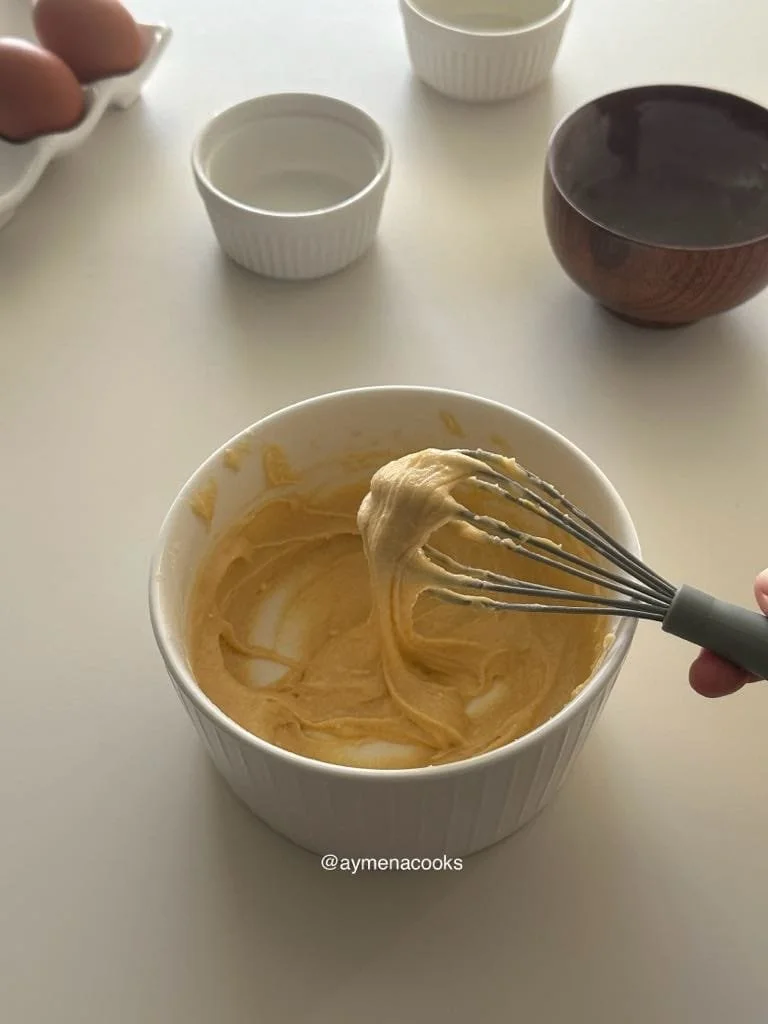
step three: add the large egg to the bowl and mix it in until combined.
step four: in another bowl, add flour, cornstarch and baking powder. mix these together.
step five: add the dry ingredients to the wet batter and gently whisk the dry mixture in until combined. you should get a thick but relatively loose batter.
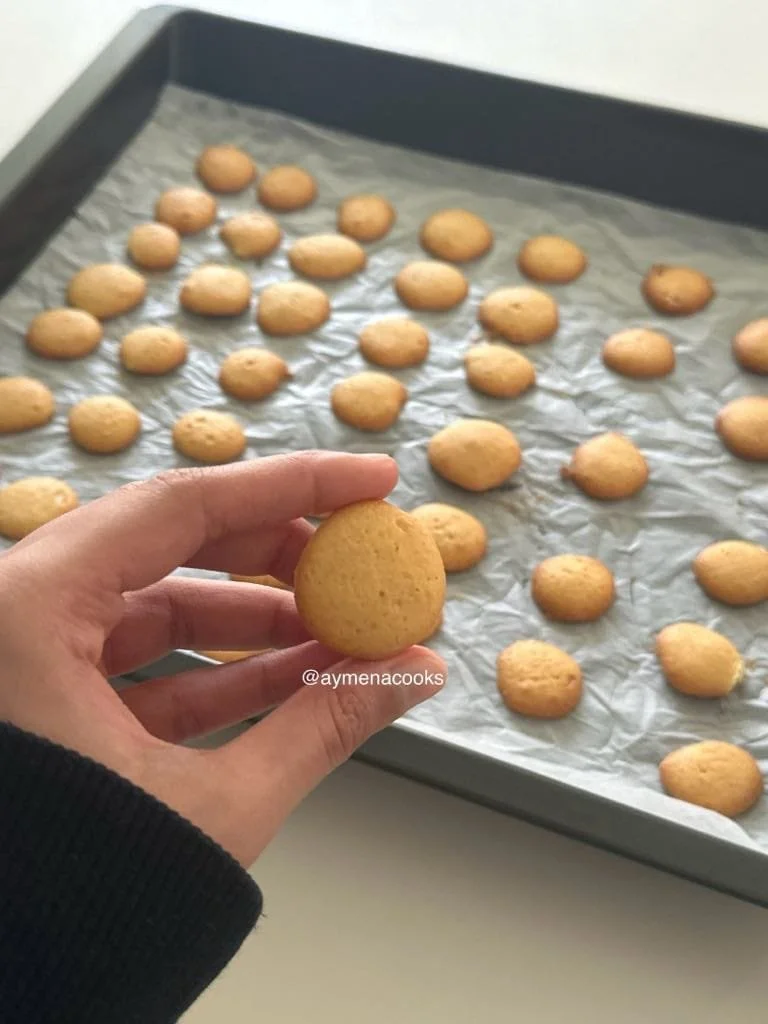
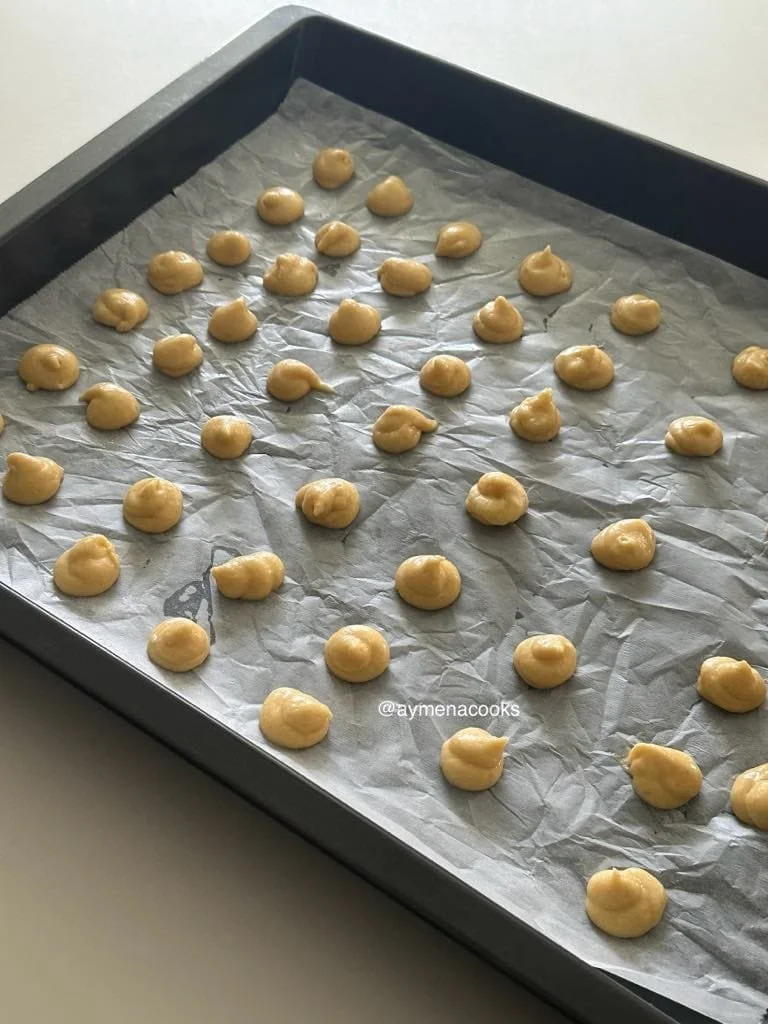
step six: transfer the dough to a piping bag and pipe the dough into small, equal-sized rounds, making sure to leave some space between them so that they can spread a little.
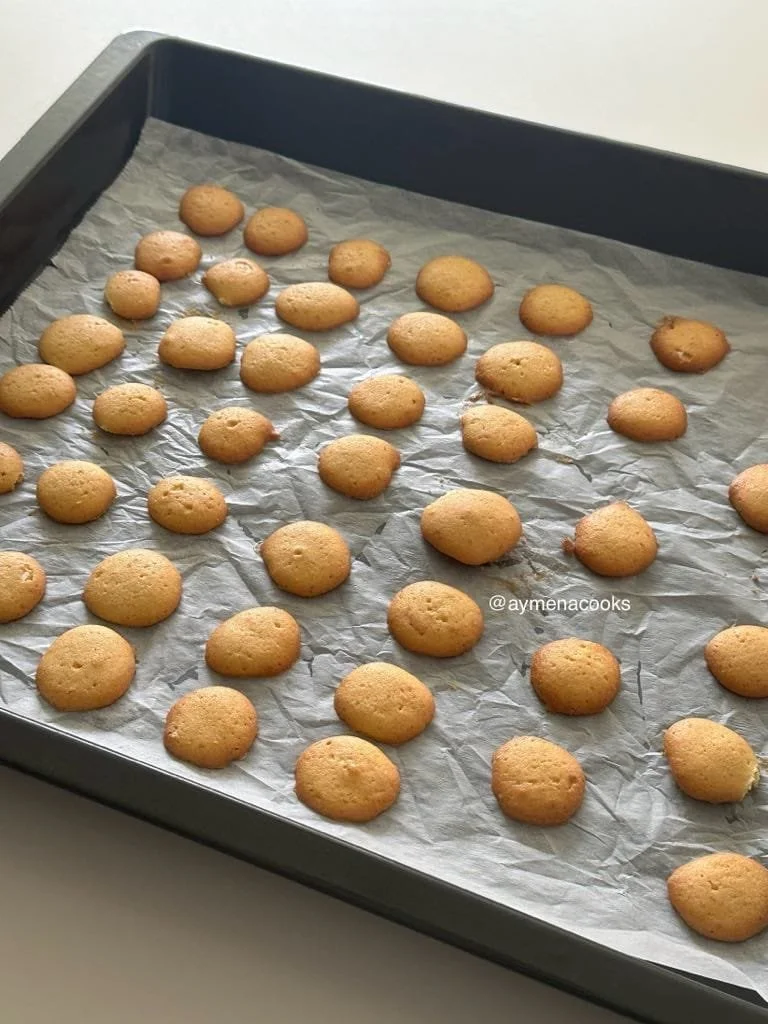
step seven: bake for about 15 minutes, or until the vanilla wafers look crisp and golden.
step eight: remove from the oven, and allow the vanilla wafers to cool on the baking sheet for about 5 minutes, then transfer to a wire rack so that they can cool completely.
tips and notes
-
use a room temperature egg when making these homemade vanilla wafers to ensure that it’s easier to incorporate into the rest of the mixture.
-
i used salted butter in this homemade vanilla wafers recipe. if you’re going to use unsalted butter, just make sure to add a pinch or two of salt to the dough to balance out the sweetness.
-
once you add the dry ingredients, whisk them in until just combined. over mixing develops gluten, which can make the cookies tough.
-
if you don’t have vanilla powder on hand, or can’t find it, feel free to just use vanilla extract instead. add it along with the egg and mix it into the batter.
-
you want your vanilla wafers to be consistent in size, so i like to use a piping bag to pipe out the dough for each cookie. however, you can also use a small cookie scoop or a teaspoon for each cookie if you find that easier.
-
leave some space between each vanilla wafer when you pipe them out as they’re going to spread in the oven slightly and you don’t want all of the cookies to melt into each other. this recipe should make about 45-50 vanilla wafers.
-
the vanilla wafers bake time will depend on your oven. i baked these mini chocolate chip cookies for around 15-16 minutes, and this gave me cookies that were crunchy on the outside with a crisp but delicate middle. if you’re unsure about whether they’re done baking or not, look for cookies that have golden edges and a lighter centre.
-
once your vanilla wafers are out of the oven, let the cookies cool on the baking sheet for about 5 minutes before transferring them to a wire rack.
-
these vanilla wafer cookies need to cool completely to achieve their characteristic crisp texture. if you plan to use these homemade vanilla wafers for banana pudding, you’ll want to make them ahead of time to ensure that they have cooled completely before you layer the vanilla wafers with pudding. i’d recommend making them at least a few hours in advance, or even the day before you plan to use them in another dessert.
-
use a kitchen scale to measure your ingredients. while i add both metric and cup measurements for this recipe, i always recommend using a kitchen scale to weigh out your ingredients for most accurate results.
-
if you do decide to use cups, bear in mind that this recipe uses higher than typical flour measurements, as it takes into account the fact that most people tend to scoop their flour.
-
once your vanilla wafer cookies have cooled completely, store them in an airtight container at room temperature to maintain crunchiness.
frequently asked questions
-
what are vanilla wafers ?
– vanilla wafers are small, round, crisp, vanilla-flavoured cookies (or biscuits) that are lightly sweet and have a delicate texture. people often use vanilla wafers for cheesecake crust, banana pudding and other desserts, but they’re also delicious on their own.
-
are homemade vanilla wafers healthy ?
– vanilla wafers are a treat and should be enjoyed as part of a balanced diet. like most cookies, they contain sugar and refined flour, so they’re best enjoyed in moderation.
-
can i use margarine instead of butter to make these vanilla wafers ?
– yes, you can. butter will give these vanilla wafer cookies a better flavour and texture, and using margarine will probably give you cookies that spread more and are less crisp, but other than that, it should be fine.
-
can you make homemade vanilla wafers without cornstarch ?
– yes, you can make vanilla wafers without cornstarch, but the texture will be slightly different. if you don’t have cornstarch, you can replace it with an equal amount of plain flour or all-purpose flour. the vanilla wafer cookies will be slightly less tender and a bit more crisp. another option is to use cake flour instead of all-purpose or plain flour, which naturally has a lower protein content similar to the effect created by adding cornstarch.
-
can i use unsalted butter in this vanilla wafers recipe ?
– yes, you can use unsalted butter instead of salted butter. if you do use unsalted butter for your vanilla wafers instead of salted, just add a pinch or two of salt to the dry ingredients.
-
do i have to use vanilla powder in this vanilla wafers recipe ?
– if you don’t have access to vanilla powder, using vanilla extract is fine.
-
why are my vanilla wafers not crunchy ?
– if your vanilla wafers aren’t crunchy, it could be that they’re underbaked. make sure that you preheat your oven before baking the cookies, and feel free to increase baking time by a few minutes. if you still find that they’re not crunchy, just turn off the oven once baking time is over and leave the cookies inside the oven for a few minutes with the oven door left ajar. this will help them crisp up a little.
-
how do i know when my vanilla wafer cookies are done ?
– you’ll know that the cookies are done when the edges of the cookies look golden brown. the middles will look lighter and softer, but they will crisp up as they cool.
-
how long do homemade vanilla wafers stay fresh ?
– these homemade vanilla wafers will stay fresh for up to 1 week when stored in an airtight container at room temperature.
-
can i make these vanilla wafers ahead of time ?
– you can definitely make these vanilla wafers ahead of time, especially since they’ll need to cool completely before you use them in other desserts.
– if you want to make the dough in advance, and bake the vanilla wafers later, you can store the dough in the fridge before baking. when you’re ready to bake, let it come to room temperature for about 30 minutes before piping.
– you can also store the baked vanilla wafers in the freezer for future use, since their crisp texture makes them ideal for freezing.
-
can i use this vanilla wafers recipe for banana pudding ?
– absolutely! you can make a homemade vanilla wafer banana pudding with this recipe and with my banana pudding recipe. these vanilla wafers have exactly the right texture to soften slightly when layered with the custard and bananas without falling apart and turning to mush. you can also use this recipe to make a homemade vanilla wafer crust for cheesecakes and other desserts.
-
can i homemade banana pudding without vanilla wafers ?
– most people typically make homemade banana pudding with vanilla wafers, but you definitely don’t have to use vanilla wafers for banana pudding. you can really use any biscuit or cookie that is crisp and can hold its shape such as graham crackers, biscoff, digestives or shortbread.
recipe
homemade vanilla wafers
these homemade vanilla wafers are the perfect accompaniment to banana pudding, though they're equally delicious on their own with a cup of tea. the dough pipes beautifully into perfect rounds that bake into golden, crisp cookies with delicate centres.
- 15 minsprep
- 15 minscook
- 45-50servings

ingredients
7 ingredients- 25g butter, salted, melted (1 tbsp + 2 tsps)
- 23g icing sugar or powdered sugar (2 tbsps + 2 tsps)
- 2 tsps vanilla powder
- 1 large egg, room temperature
- 55g plain flour or all purpose flour (1/4 cup + 1 tbsp)
- 1/2 tsp cornstarch or cornflour
- 1/4 tsp baking powder
method
8 steps- preheat oven to 180 °C (350°F) and line a baking sheet or tray with parchment paper or baking paper.
- in a medium sized bowl, add melted butter, icing sugar or powdered sugar and vanilla powder. using a spoon or a whisk, mix these together until combined. the mixture should look smooth and creamy.
- add the large egg to the bowl and whisk it in until combined.
- in another bowl, add the flour, cornstarch and baking powder. mix these together.
- add the dry ingredients to the wet batter and gently whisk the dry ingredients into the mixture until combined. do not over mix. you should get a thick but relatively loose batter.
- transfer the dough to a piping bag and pipe the dough onto your lined baking tray into small, equal-sized rounds, making sure to leave some space between them so that they have enough room to spread.
- bake the vanilla wafers at 180 °C (350°F) for 15-16 minutes, or until the cookies look golden and crisp.
- remove from the oven, and allow the vanilla wafers to cool on the baking sheet for about 5 minutes, then transfer to a wire rack so that they can cool completely.
comments
Questions, tips, and kind notes are welcome.